Running WebAssembly code on NGINX Unit
NGINX Unit 1.33 just got released, and it has an up to date version of wasmtime. Here's how to run your component in Unit.


Before starting at F5 just over a year ago, I worked at a startup called Suborbital. Our vision then was to enable companies to run untrusted customer code within their own infrastructure, or ours, by compiling it first into WebAssembly modules and then running that. F5 bought the technology and hired the people from that startup, and the startup was promptly shut down.
Over the past year we’ve tried to find our places within the organisation, and I’m just now getting to work with WebAssembly again. It’s exciting, I understand a lot more about the technical details of it, and the component model got to a point where it’s viable to do stuff with it over the internet. NGINX Unit now has support for wasm components.
What even is WebAssembly?
Let’s back it up a bit, and talk about some basics about what it is. Per their website:
WebAssembly (abbreviated Wasm) is a binary instruction format for a stack-based virtual machine. Wasm is designed as a portable compilation target for programming languages, enabling deployment on the web for client and server applications.
In practical terms, you write your code in your language of choice (that support compiling to wasm), compile it, and you get a .wasm file at the end. That file can be inserted into a runtime that executes it, and done. The cool thing is that it doesn’t matter what the source language was — Rust, C, Go, PHP, Elixir, — as long as the compiled wasm file adheres to a few restrictions, it will execute in the runtime just fine.
One of those restrictions is that it should be something called a component, and it should implement a specific world, or a number of specific worlds.
Worlds
WebAssembly is great, because out of the box, it has access to absolutely nothing. It’s a series of functions that receives some input (numbers), and produces output (also numbers). It does not have access to the clock on the machine it’s running. It definitely does not have access to the file system. Or the network, or environment variables, or stdin, or stdout, or stderr, you can’t print anything anywhere, no way of generating a random number either. It’s in an empty bubble where the only input is a bunch of numbers, or bytes, and the only output is another bunch of bytes. When your source code does anything around strings for example, all of those are converted into instructions on bytes. Strings are just bytes at the end of the day. Everything is bytes.
In order to do anything actually useful, you do need to give your component some limited access to the outside world. So let’s make an apple pie from scratch and start by inventing the universe!
Worlds are essentially, and I’m simplifying here a lot, a set of permissions that tell the runtime that if the component calls for these functions, it’s allowed to access them. That’s one side.
The other side is more strict, it behaves like an interface declaration in Go. For example if your code wants to access random numbers from the system, but the world in which it’s placed does not permit that, then the runtime will give you an error that your component has a reference to a function that’s not implemented.
NGINX Unit uses a world and a half to run your component:
- wasi:http-proxy world, which gives access to clocks, random numbers, stdout, sterr, stdin (though should not actually work), and declares the signatures for an incoming and an outgoing handler with the necessary types
- wasi:cli world, this gives access to the filesystem, sockets, io, environment, and terminal input-output.
There are some overlapping capabilities with the http-proxy world, hence the half.
Permissions
Some of these are somewhat straightforward, but the ones that should immediately raise an eyebrow are the filesystem and socket access. While they do provide the ability to access them, it doesn’t mean that your component also has permission to access the filesystem — it just means the function call to open files will be implemented.
Each component is only able to access files and directories that the host system has explicitly told it can. In the wasmtime runtime, the one Unit is using, we do this by passing a list of files and directories to a call to preopen those for the component and make it available at the same path.
A short explanation on what I mean by “at the same path:” the preopen call takes four arguments:
- path on the host system
- path it should be available in the component
- directory permissions
- file permissions
If I call preopened_dir('/Users/gabor/example/', '/', '0644', '0644'), then the component will have access to every file and folder in the example directory on my computer, but internally it will look like root: /. This makes it really really hard¹ to break out of the assigned directory constraints.
If we don’t preopen any file or directory, the call to pread anything from within the component will succeed in the sense that it will not be rejected by the host system, but it will return a file not found error.
Can I test whether my component would run in Unit?
Sure! The exact wasmtime command is the following:
$ wasmtime serve -Scli --dir /path/to/local/directory::/guest/directory your_component.wasm The parts here:
wasmtime– this is the executable of the runtime. You can install it following their docsserve– this command will use the http world and spin up a server, by default localhost:8080-Scli– this one adds the cli world to the runtime, so your component can access the filesystem--dir /path/to/local/directory::/– specifies a preopen directive: open the directory on the left side of the::, and mount it in the component to/guest/directoryyour_component.wasm– finally, your compiled wasm component
Your first component
Written in Rust
This article does not assume that you have a piece of code that you can compile into a WebAssembly component, so to get to Hello World fast, I’m sharing the module code that we use to test environment and file system access. It’s in Rust, so some understanding of programming in that language is useful, though I strive to give you instructions where you can complete this without understanding the code.
First things first, you need to have the Rust toolchain. That means find the installation documentation for your particular system, install it, and double check that the commands rustc and cargo are available.
Next step you need to install an additional toolchain, called cargo component. You’ll do that by this command:
$ cargo install cargo-component --lockedPay attention to the installation prerequisites of cargo component: it needs to have access to an up to date OpenSSL, and a C toolchain.
Once that’s done, let’s create a new component:
$ cargo component new --lib wasmexampleYou need the --lib flag here, otherwise it will create a component that’s supposed to be run on the command line rather than called from within a web server environment, and your name needs to not contain a dash or underscore at this point. There are some rules when it comes to naming namespaces and components in the Cargo.toml file, but talking about that is outside of the scope of this article. For the time being keep the name to all lowercase letters.
That command will create a bunch of files in a new directory called wasmexample. You’ll need to edit the Cargo.toml file first. It needs to end up looking like this:
[package]
name = "wasmexample"
version = "0.1.0"
edition = "2021"

[dependencies]
wasi = "0.13.2"

[lib]
crate-type = ["cdylib"]

[package.metadata.component]
package = "component:wasmexample"
Of note, you need to replace the dependency, and you need to remove the proxy=true from the metadata. Having proxy there will mean the filesystem will not be accessible even if you’ve explicitly enabled it.
The second file is the src/lib.rs file. If you have an src/main.rs file, you did not pass the --lib flag to the command above. This is the example src/lib.rs file:
use std::io;
use std::fs;
use std::path::PathBuf;
use wasi::http::types::{
    Fields, IncomingRequest, OutgoingBody, OutgoingResponse, ResponseOutparam,
};
use wasi::cli::environment::get_environment;

wasi::http::proxy::export!(Component);

struct Component;

const HTML_BODY: &str = r#"<html>
    <head>
        <title>Hello from WebAssembly!</title>
    </head>
    <body>
      <h1>WebAssembly experiment</h1>
      <h2>Environments</h2>
      <p>{{ENV_VARS}}</p>
      <h2>Directory listing</h2>
      <p>{{DIR_VARS}}</p>
    </body>
</html>"#;

impl wasi::exports::http::incoming_handler::Guest for Component {
    fn handle(_request: IncomingRequest, response_out: ResponseOutparam) {
        let headers = Fields::new();
        let variables = format!("{:?}", get_environment());

        let directories_vec = fs::read_dir("/usr/share").unwrap()
            .map(|res| res.map(|e| e.path()))
            .collect::<Result<Vec<PathBuf>, io::Error>>().unwrap();

        let directories = directories_vec.into_iter().map(|dir| {
            dir.into_os_string().into_string().unwrap_or(String::from(""))
        }).collect::<Vec<String>>().join("<br/>");

        let message = String::from(HTML_BODY)
            .replace("{{ENV_VARS}}", &variables)
            .replace("{{DIR_VARS}}", &directories);

        let _try = headers.set(
            &"Content-Type".to_string(),
            &[b"text/html; charset=utf-8".to_vec()],
        );
        let _try = headers.set(
            &"Content-Length".to_string(),
            &[message.len().to_string().as_bytes().to_vec()],
        );

        let resp = OutgoingResponse::new(headers);
        resp.set_status_code(200).unwrap();

        let body = resp.body().unwrap();
        ResponseOutparam::set(response_out, Ok(resp));

        let out = body.write().unwrap();
        out.blocking_write_and_flush(message.as_bytes()).unwrap();
        drop(out);

        OutgoingBody::finish(body, None).unwrap();
    }
}
Main points of the code:
- imports and uses to pull in wasi code that we’re going to be using
- declare a const of a really simple HTML template to render our data
- implement the incoming handler Guest for our own Component, which is a handle function
- in the function we initialise a new set of headers for later use, read the environment, and read the files and directories at the
/usr/sharepath. This is going to be important later, make sure this is the value here - there’s a lot of formatting to turn the environment and directory list data into strings we can use
- those are substituted into the template
- headers are set up: response code, response length, response type
- response is sent
.unwrap(), which will panic if it encounters an error. It’s generally a lot better to handle unexpected results, however for the example purposes using this is Good Enough™.Build your component
With the Cargo.toml and src/lib.rs files in place, building the component should succeed:
$ cargo component buildNote that the command is for component. You should see something similar on your command line:
$ cargo component build
  Generating bindings for wasmexample (src/bindings.rs)
   Compiling wit-bindgen-rt v0.29.0
   Compiling bitflags v2.6.0
   Compiling wasi v0.13.2+wasi-0.2.1
   Compiling wasmexample v0.1.0 (/Users/javorszky/Projects/webassembly/testing)
    Finished `dev` profile [unoptimized + debuginfo] target(s) in 1.44s
    Creating component target/wasm32-wasip1/debug/wasmexample.wasm
Test that your component works
Now that you have wasmtime on your command line, let’s run this to see whether this works!
$ wasmtime serve -Scli,inherit-env --dir=.::/usr/share target/wasm32-wasip1/debug/wasmexample.wasmWe’re using wasmtime to serve the supplied .wasm file instead of running it on the CLI. The side effect of using serve is that wasmtime will include the HTTP world to run your component in to enable sending and receiving requests.
The -Scli,inherit-env flag adds additional options to the WASI runtime. cli enables the cli world, which we need to have the ability to access the filesystem and environment variables — which does not give access to these on its own, — and the -Sinherit-env flag tells the runtime to inherit all environment variables from the parent process: in this case our terminal. This gives access to the environment variables.
Then the --dir=.::/usr/share flag tells the runtime which folder on the host computer to preopen at which path in the guest component. Dot means “this directory”, the double colons is the separator, and the /usr/share means the component should have access to the /usr/share directory. If you look in the code in src/lib.rs, that’s the directory we’re opening. Basically, make all contents of the current directory on the host available at that directory within the component.
Lastly you need to pass the path to your component, which you’ll get by looking at the last line of the cargo component build output.
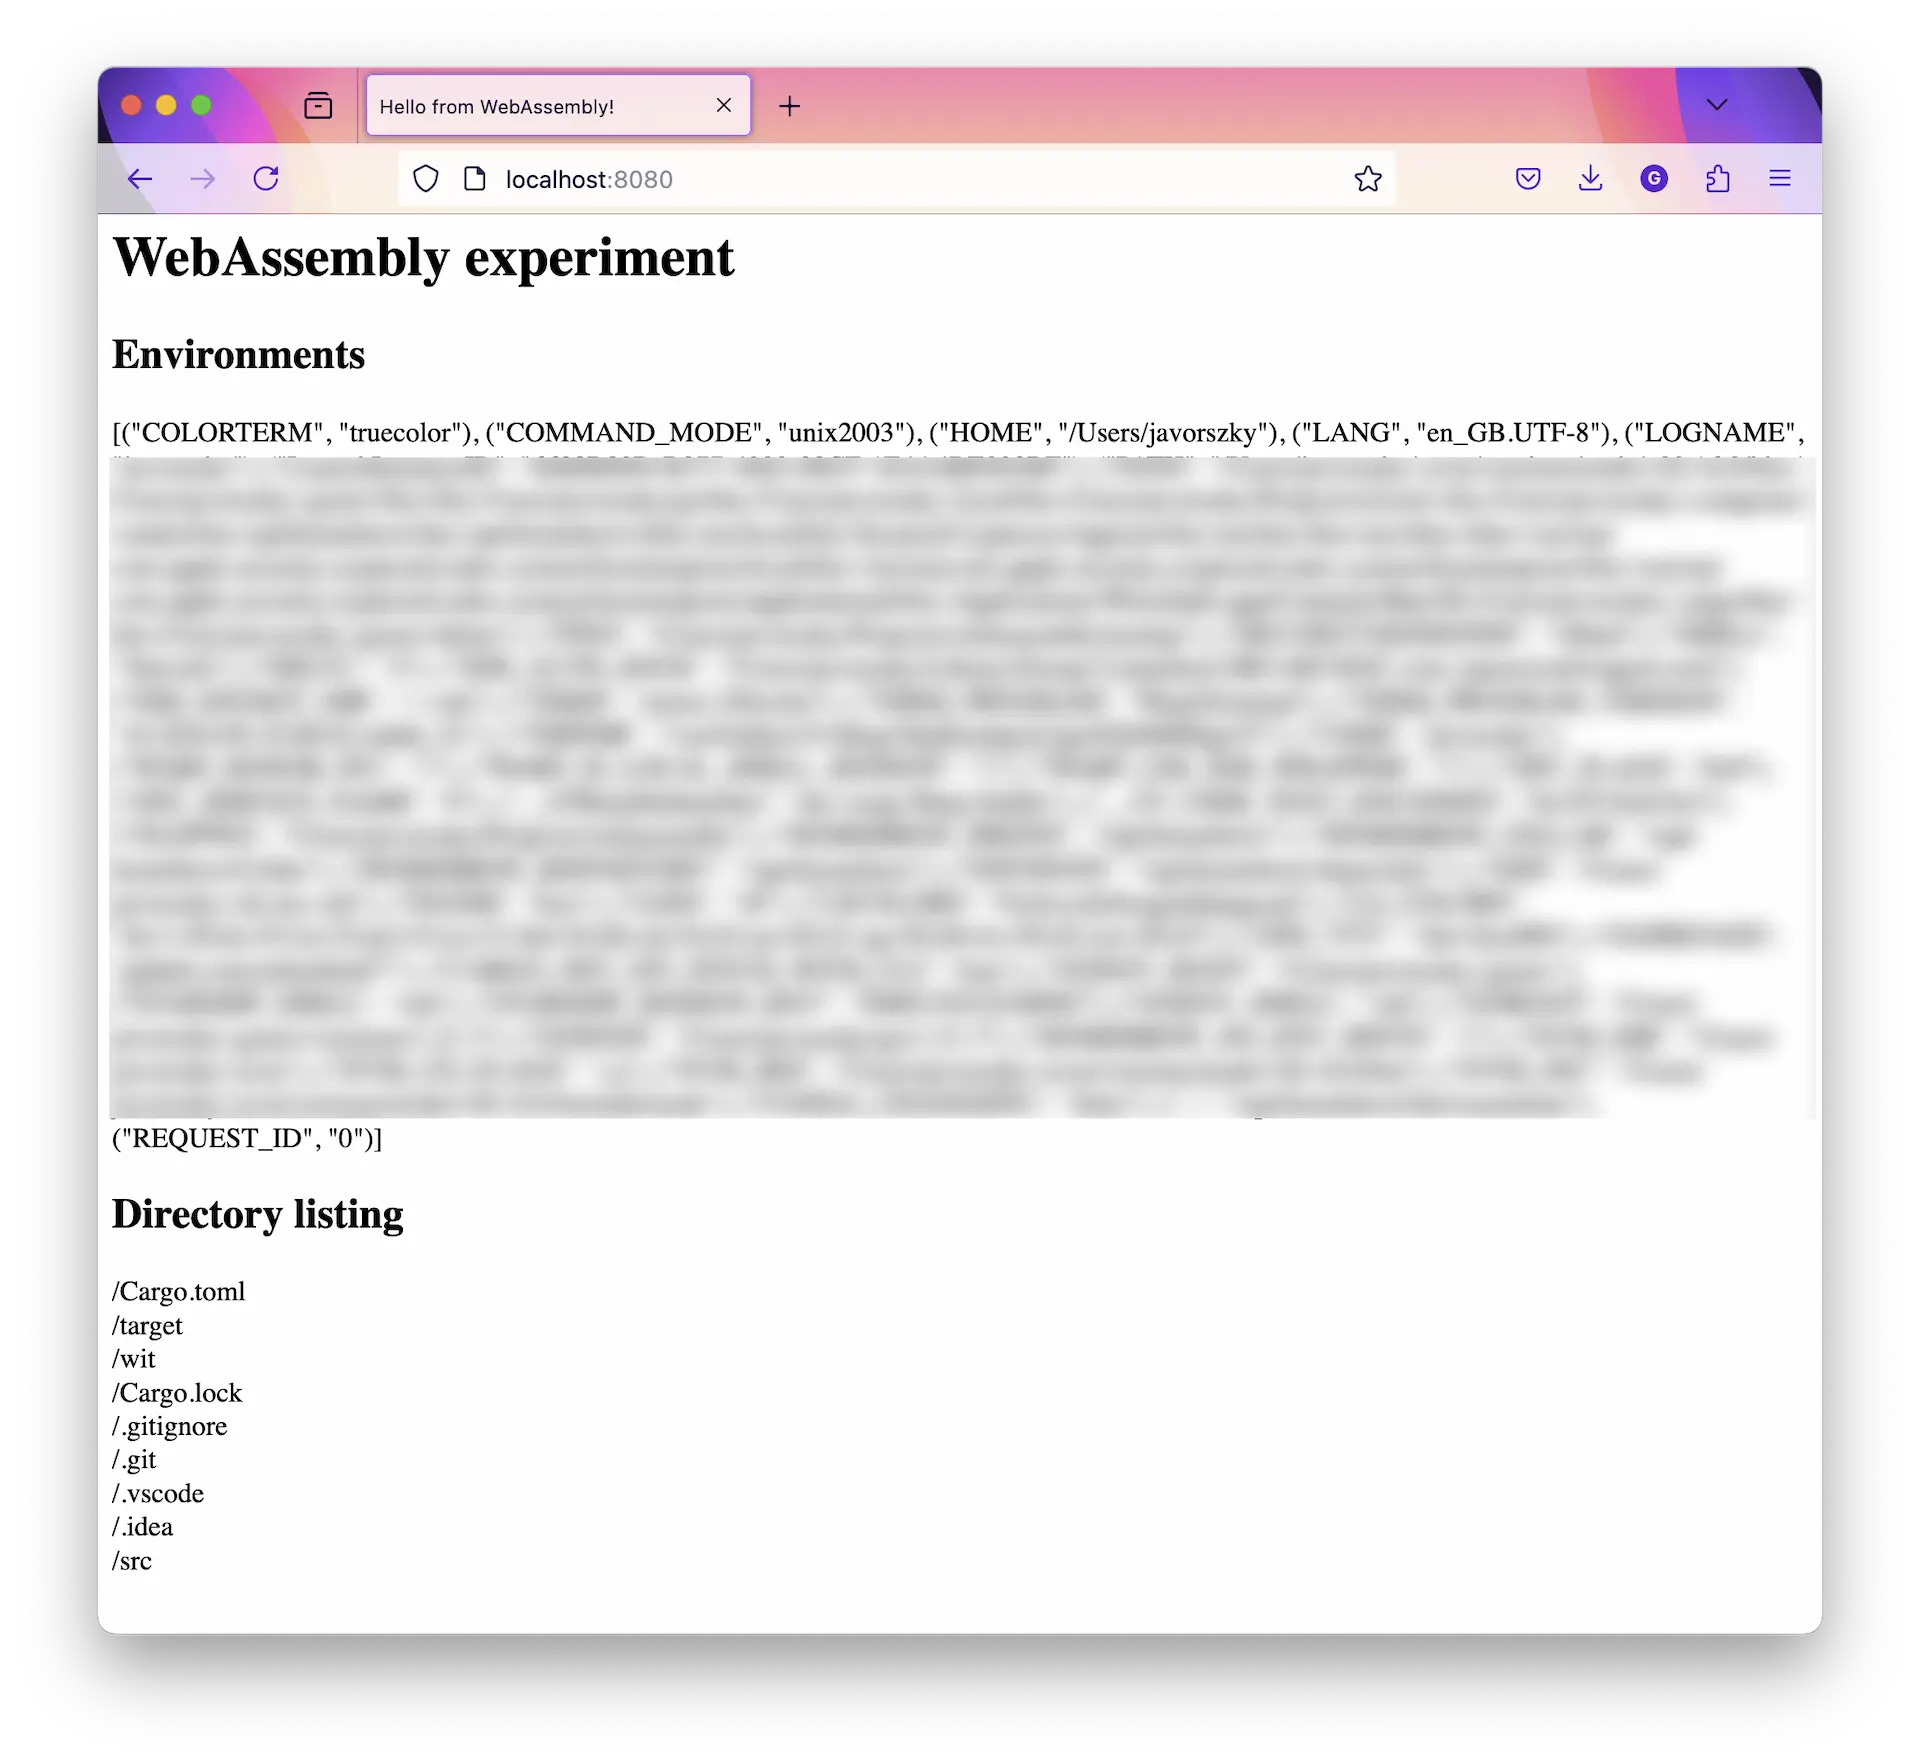
If all goes well, this is similar to what you should see when you open your browser and go to http://localhost:8080:
Plug this into NGINX Unit
Running in Docker
All right, we have a working WebAssembly component, and version 1.33 of Unit is now released. Let’s put these together!
Here’s your docker-compose.yml file you’re going to use:
services:
  unitwasm:
    image: unit:1.33.0-wasm
    ports:
      - '8080:8080'
      - '1234:80'
      - '8081:8081'
    volumes:
      - ./target/wasm32-wasip1/debug/wasmexample.wasm:/wasmmodules/wasmexample.wasm
      - ./config.json:/docker-entrypoint.d/wasmconfig.json
Create this in the same directory as your Cargo.toml file is. While you’re here, also create a config.json file that Unit will use to configure itself on startup:
{
  "listeners": {
    "*:8081": {
      "pass": "applications/example-wasm"
    }
  },
  "applications": {
    "example-wasm": {
      "type": "wasm-wasi-component",
      "environment": {
        "PROVIDER_NAME": "Example Provider",
        "Foo": "Bar"
      },
      "component": "/wasmmodules/wasmexample.wasm",
      "access": {
        "filesystem": [
          "/usr/share"
        ]
      }
    }
  }
}
When you’re ready, start the container with docker compose up, and once the terminal output settles, you should be able to access Unit running your component at http://localhost:8081.

Now go forth, and experiment with Unit to your heart’s content 🙂!
If you found this helpful, you can toss a coin my way. All funds will go towards funding my crippling Starbies addiction. 😇
¹ — I don’t want to use the word “impossible,” because bugs and unknown unknowns and really smart humans, but the security model of WebAssembly does actually make this incredibly difficult.